If you've ever had the unfortunate experience of getting your miter saw exposed to rain, you know how distressing it can be. Water exposure can lead to corrosion of the saw's parts, rendering it unusable in the long run. But fear not, as you can take action to minimize the damage and get your trusty miter saw back to its former glory.
This comprehensive guide will teach you how to dry a miter saw after it's exposed to rain. We'll cover everything from damage assessment to cleaning and drying the saw, removing moisture from the motor, and ensuring its safety. With our precise and detailed instructions, you can restore your miter saw to working condition in no time. Check out Woodhandy for more information regarding miter saw.
Damage Assessment After Exposed to Rain
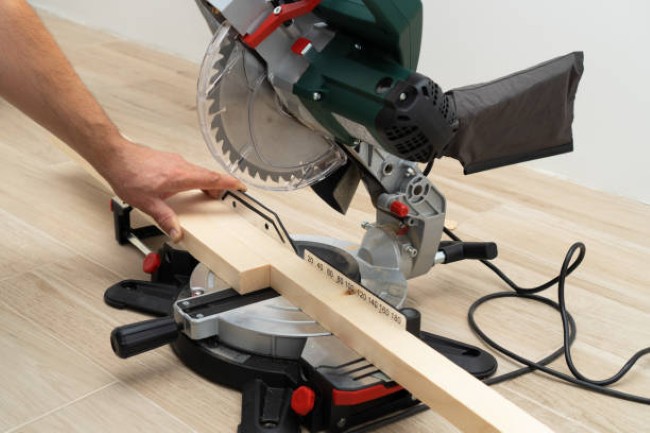
First, you'll want to check if any water has seeped into the motor or electrical components of the miter saw. This is crucial in determining the extent of the damage and what steps you need to take for drying.
Start by unplugging the saw and carefully inspecting the areas where water could have entered. Look for any signs of moisture, such as water droplets or wetness. If you find any, take extra caution as water can cause electrical shorts or damage the motor.
Use a dry cloth or paper towel to gently dab away any visible water. Avoid using excessive force or rubbing, as this may cause further damage.
Once you have assessed the damage, you can take the necessary steps to dry your miter saw effectively.
Cleaning and Drying the Miter Saw
Next, you'll want to thoroughly clean and remove any moisture from your wet miter saw. Here's how to do it:
- Disconnect the power: Before starting any cleaning or drying process, ensure the miter saw is unplugged to prevent accidents.
- Wipe down the surfaces: Use a clean, dry cloth to gently wipe down the entire miter saw, including the blade, table, and motor. Pay special attention to any areas where water might have accumulated.
- Use compressed air: Using a can of compressed air, blow out any remaining moisture or debris from hard-to-reach areas, such as the motor housing or the blade guard. Make sure to hold the can upright to avoid spraying any liquids.
Removing Moisture From the Miter Saw Motor
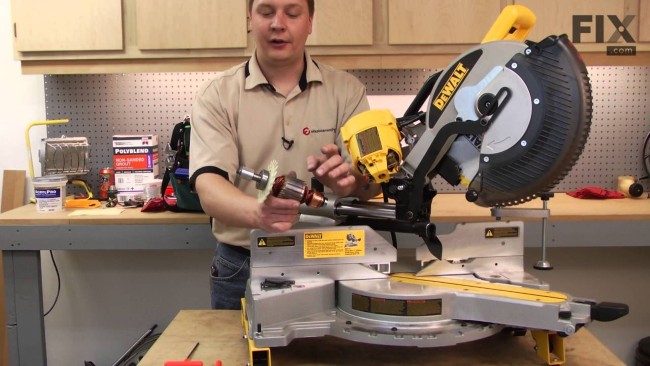
To remove moisture from the motor, follow these steps:
- Start by unplugging the miter saw from the power source to ensure your safety.
- Next, locate the motor housing and carefully open it to expose the motor.
- Inspect the motor for any visible signs of moisture or debris.
- Do not attempt to power on the saw if you see any, as this can cause further damage.
- Instead, use a can of compressed air to blow out the moisture and debris.
- Direct the air into all the nooks and crannies of the motor, ensuring that all the moisture is removed.
- Take your time and be thorough.
Reassemble the miter saw and reconnect the power.
- You can reassemble the miter saw once you are confident that the motor is dry.
- Make sure all the components are properly aligned and secured.
- Finally, reconnect the power to the miter saw.
Always take precautions to keep your miter saw dry and protected from moisture to prevent future damage.
Lubricating and Protecting the Saw
Ensure you regularly lubricate and protect your saw with a high-quality oil to keep it running smoothly. This is crucial for maintaining the performance and longevity of your miter saw, especially if it has been exposed to rain or other moisture.
Here are three important steps to follow when lubricating and protecting your saw:
- Clean the saw: Before applying any oil, clean the saw thoroughly. Use a soft cloth or brush to remove any dirt, debris, or moisture from the saw's surface.
- Apply oil: Once the saw is clean and dry, apply a few drops of high-quality oil to the moving parts of the saw, such as the blade hinge and the motor bearings. Be sure to follow the manufacturer's instructions for the type and amount of oil.
- Protect the saw: After applying the oil, use a protective spray or wax to create a barrier against moisture and corrosion. This will help to prevent rust and keep your saw in optimal condition.
Testing and Ensuring Safety
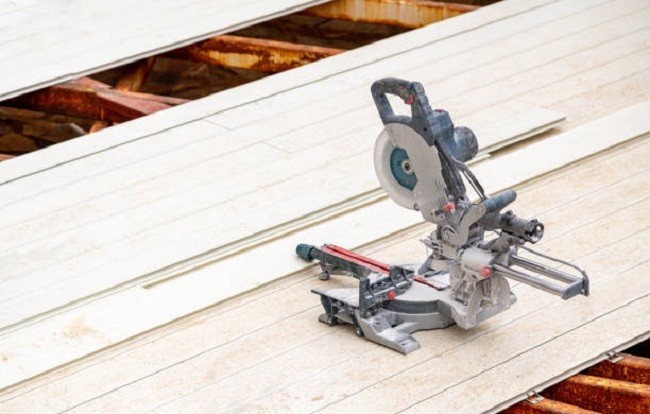
To ensure your safety, it's important to test the functionality of your saw's safety features before each use.
Start by checking the blade guard. With the saw unplugged, raise and lower the guard to ensure it moves smoothly and locks securely in both positions. Next, examine the anti-kickback pawls. These should engage and disengage easily when the board is pushed forward and pulled backward.
Then, test the electric brake. Start the saw and let it reach full speed, then release the trigger. The blade should stop spinning within a few seconds. Finally, inspect the safety switch. Ensure it's easy to reach and operate and instantly shuts off the saw when pressed.
Conclusion
As with anything in life, it's important to finish strong. This is especially true when using tools like a miter saw. After all, you want to ensure your saw is in tip-top shape to perform its job as efficiently as possible.
This means taking the time to properly care for and maintain your saw, even when things don't go according to plan, like when it gets exposed to rain. Following the necessary steps and being diligent in your approach can bring your saw back to life and ensure it stays in good condition for years. |